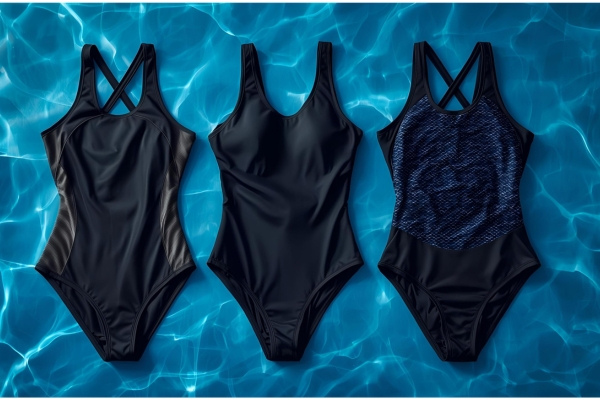
7 Steps to Make Custom Underwear Like a Pro: A Complete Guide
Why Make Custom Underwear?
Custom underwear is gaining popularity for several reasons. Not only does it allow for better fit and comfort, but it also offers endless possibilities for personalization. Whether it’s choosing the right fabric, adding custom prints, or ensuring eco-friendly production, the benefits are undeniable.
Step 1: Decide on the Type of Underwear
Before diving into the process, determine what type of underwear you want to create. Common options include:
- Briefs
- Boxers
- Bikinis
- Thongs
- Boyshorts
Each style serves different needs, so consider your target audience and purpose.
Step 2: Choose the Right Fabric
Fabric choice is crucial for comfort and durability. Popular options include:
- Cotton: Breathable and soft, perfect for everyday wear.
- Modal: Luxurious and smooth, great for premium products.
- Spandex: Offers excellent stretch, ideal for activewear underwear.
- Bamboo: Eco-friendly and naturally antibacterial.
Pro Tip: Look for fabrics with a blend of at least 5% elastane to ensure flexibility.
Step 3: Create Your Design
Customization is where creativity meets functionality. Consider the following elements:
- Colors and Patterns: Choose bold colors or unique prints to stand out.
- Logos or Branding: Add your logo for a professional touch.
- Seamless Options: For a sleek, invisible fit under clothes.
Step 4: Take Accurate Measurements
For a perfect fit, precise measurements are non-negotiable. Measure:
- Waist: At the narrowest point.
- Hips: At the widest point.
- Rise: From the front waistline to the back waistline through the crotch.
Step 5: Cut and Sew
Once your design is ready, it’s time to bring it to life:
- Pattern Creation: Use your measurements to draft a pattern or use a pre-made template.
- Fabric Cutting: Lay the fabric flat and cut according to your pattern.
- Sewing: Use a serger or overlock machine for clean, durable seams.
Tip: Ensure your stitches are tight to avoid unraveling over time.
Step 6: Test and Adjust
Before finalizing your custom underwear, conduct a test fitting. Look for:
- Comfort: Does it feel good on the skin?
- Fit: Is it snug but not restrictive?
- Durability: Do the seams hold up after a stretch test?
Make necessary adjustments to achieve the desired fit and comfort.
Step 7: Add the Final Touches
The finishing touches can elevate your product:
- Tags or Labels: Include care instructions or branding.
- Packaging: Consider eco-friendly and visually appealing options.
- Custom Requests: Offer clients options like embroidery or special messages.
Frequently Asked Questions
Q1: How much does it cost to make custom underwear?
Costs vary depending on fabric, design complexity, and quantity. On average, expect to spend $5-$15 per piece for small-scale production.
Q2: Can I make custom underwear without sewing skills?
Yes! Many companies offer custom services where you provide the design, and they handle production.
Q3: How long does the process take?
For DIY projects, it might take 2-4 hours per piece. Professional services can take 1-3 weeks.
Conclusion
Making custom underwear may seem daunting, but with the right steps and tools, it becomes a rewarding experience. Whether for personal use or to start a new business venture, this guide equips you with all the essential knowledge. Start today, and create underwear that’s as unique as you are.
What Is a Maxi Dress?Your Complete Guide to This Timeless Fashion Staple
Can You Wear Shapewear While Pregnant?